Proper earthing of solar street light poles is essential for safety and system longevity. Without it, electrical surges and lightning strikes can cause significant damage.
Earthing a solar street light pole prevents electrical hazards, protects electronic components, and ensures compliance with safety standards. A well-grounded system enhances reliability and lifespan.
To achieve an effective earthing system, we must follow the right procedures, select proper materials, and conduct regular maintenance.
Why Earthing Is Necessary for Solar Street Lights?
A poorly earthed solar street light pole increases the risk of electrical shocks and equipment failure. Understanding the importance of grounding is crucial for a safe installation.
Earthing provides protection against electrical surges, ensures public safety, and enhances the overall lifespan of the system.
2.1 Protection Against Electrical Surges
Earthing redirects excess electrical charges to the ground, preventing damage.
- Prevents damage from lightning strikes – Reduces the risk of component failure.
- Stabilizes voltage levels – Protects the solar controller and LED driver.
2.2 Ensuring Safety
Proper grounding eliminates the risk of electric shocks.
- Protects pedestrians and maintenance workers – Reduces electric shock hazards.
- Minimizes fire risks – Prevents overheating in case of electrical faults.
2.3 Enhancing System Longevity
A good grounding system ensures stable electrical performance over time.
- Prevents corrosion caused by electrical leakage – Reduces maintenance costs.
- Enhances battery and controller efficiency – Prevents erratic power fluctuations.
Required Materials for Earthing a Solar Street Light Pole
Using high-quality earthing materials ensures durability and efficiency. The choice of components directly affects the effectiveness of the grounding system.
To properly earth a solar street light pole, you'll need the following materials:
| Component | Function |
|---|---|
| Copper Earthing Rod (1.5m – 3m) | Conducts excess electricity into the ground |
| Earthing Wire (6-10mm² Copper or GI) | Connects the earthing rod to the pole |
| Earthing Plate (Optional) | Enhances grounding conductivity |
| Ground Enhancement Material | Improves soil conductivity (Charcoal, Salt, Bentonite) |
| Earth Pit | Holds the earthing rod underground |
| Clamp and Bolts | Secures wire connections to the pole |
| Multimeter or Resistance Tester | Measures earth resistance |
Step-by-Step Guide to Earthing a Solar Street Light Pole
A step-by-step approach ensures a safe and effective grounding system. Skipping any step can lead to poor performance or safety hazards.
The process includes selecting a location, installing the earthing rod, enhancing conductivity, and testing the system.

4.1 Choosing the Right Earthing Location
Selecting the proper site for earthing is critical for performance.
- Choose a moisture-retaining area – Dry soil has poor conductivity.
- Avoid rocky or high-resistance areas – These can prevent proper grounding.
4.2 Digging the Earth Pit
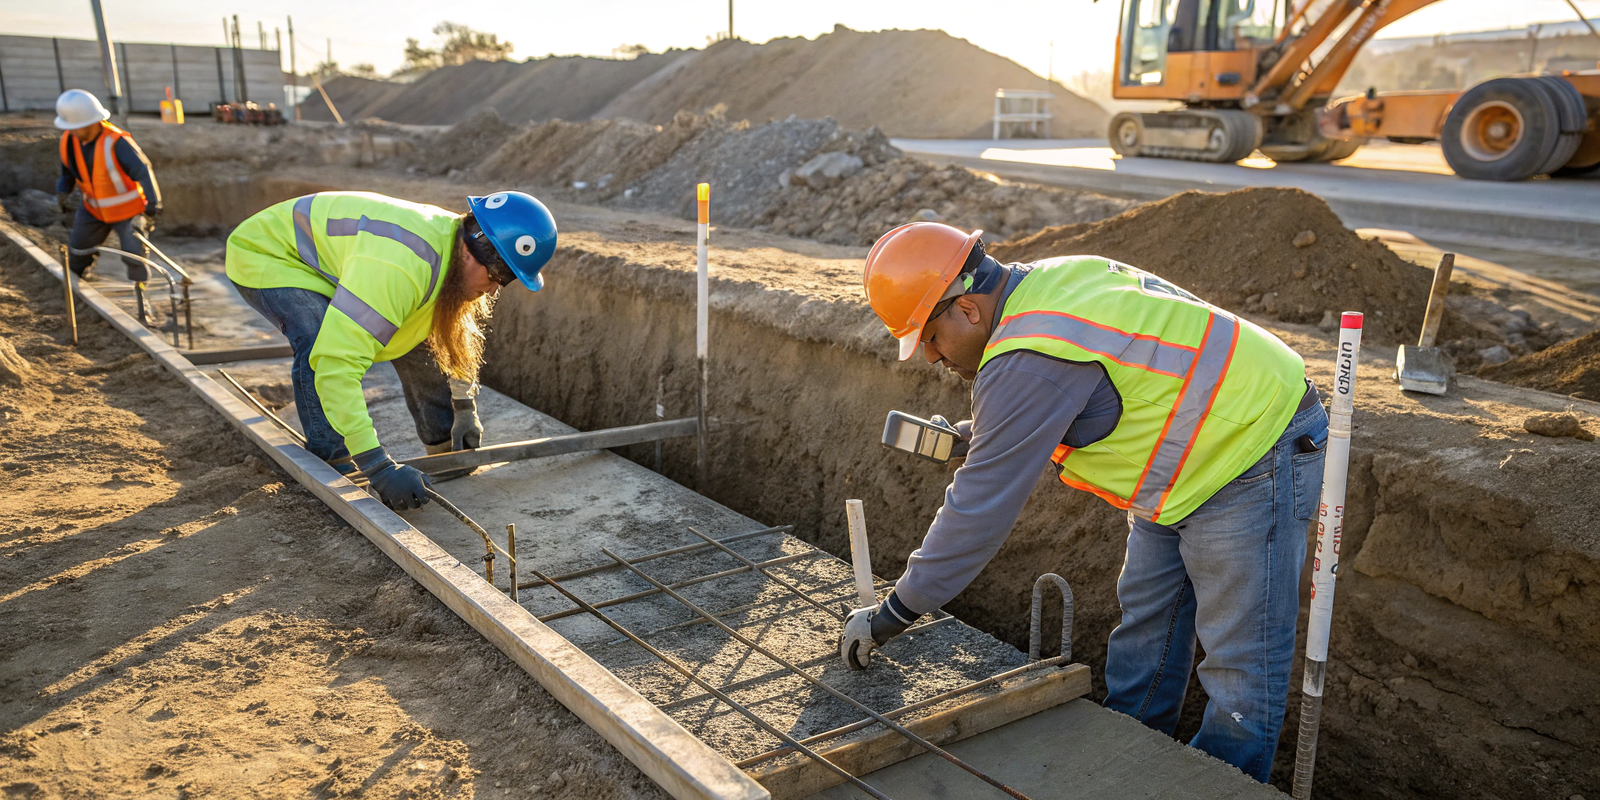
A deep earth pit ensures efficient dissipation of excess electrical charges.
- Depth – Dig a hole at least 1.5 to 3 meters deep and 30 cm wide.
- Moisture – If the soil is dry, add water or a ground enhancement compound.
4.3 Installing the Earthing Rod
A properly installed rod improves conductivity.
- Insert a copper earthing rod into the pit – A longer rod improves efficiency.
- Use a hammer or grounding tool – Drive the rod deep into the ground.
- Ensure the top of the rod is at least 15 cm below ground level – This prevents exposure to environmental elements.
4.4 Connecting the Earthing Wire
A secure connection ensures the smooth flow of electrical charges.
- Use copper or galvanized iron (GI) wire – Connect the earthing rod to the pole.
- Secure the connection with clamps and bolts – Tighten to prevent loosening over time.
- Ensure corrosion resistance – Use anti-corrosion coatings for long-term durability.
4.5 Enhancing Ground Conductivity
Improving soil conductivity lowers resistance and enhances grounding effectiveness.
- Fill the pit with a mixture of charcoal, salt, and bentonite – These materials improve conductivity.
- Cover the pit with soil and compact it firmly – Ensures the rod remains stable.
4.6 Testing the Earthing System
Measuring earth resistance ensures the effectiveness of the grounding system.
- Use an earth resistance tester (megger) – To check electrical conductivity.
- Target resistance levels – Ideal earthing resistance should be less than 5 ohms; for better protection, aim for below 1 ohm.
- If resistance is too high – Add moisture or more grounding materials to improve performance.
Best Practices for Long-Lasting Earthing
Maintaining the grounding system ensures continued efficiency and protection against electrical hazards.
Proper maintenance, additional earthing rods, and corrosion protection improve longevity.

5.1 Regular Maintenance and Inspection
Routine checks prevent grounding failure.
- Inspect for corrosion and loose connections – Every 6-12 months.
- Measure earthing resistance – Ensure resistance stays within acceptable levels.
5.2 Using Multiple Earthing Rods (For High-Risk Areas)
In areas prone to lightning, additional rods improve safety.
- Install extra rods in parallel – Reduces resistance and enhances conductivity.
- Use interconnected earthing systems – Strengthens overall grounding efficiency.
5.3 Protecting Against Corrosion
Corrosion can weaken the earthing system over time.
- Use copper or galvanized rods – More resistant to corrosion.
- Apply anti-corrosion coatings – On exposed metal parts to extend lifespan.
Conclusion
Proper earthing ensures the safety, longevity, and efficiency of solar street lights. A well-installed grounding system protects against electrical surges, lightning damage, and equipment failure. Regular maintenance, using high-quality materials, and following best practices can significantly enhance the performance of solar street lighting systems.


