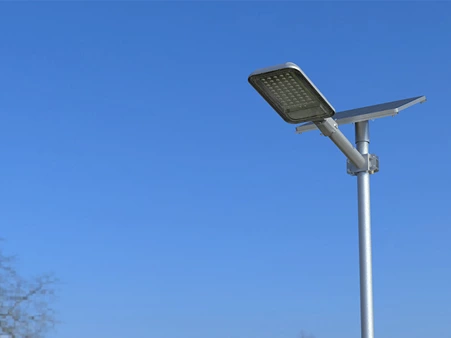
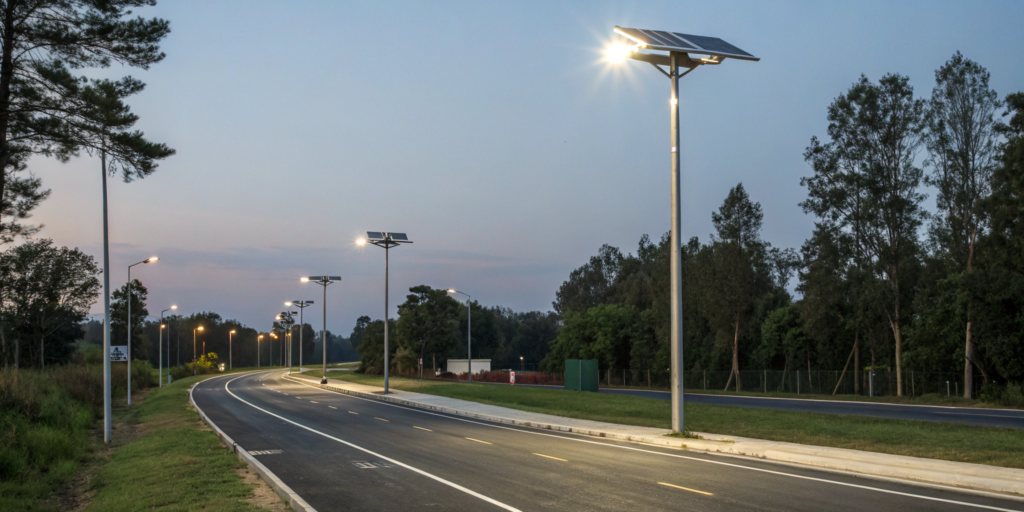
Installed AC street lights at a Lagos logistics park—note tight wiring and level fixtures.
Installing AC street lights doesn’t have to be daunting—but it does require on-the-ground judgment. We've seen costly errors from poor planning to improper wiring. This guide helps you avoid them.
Based on real installations across Ghana, Cambodia, and Nigeria, here’s how to plan, execute, and maintain AC street lighting like a pro.
Why You’ll Appreciate This Guide
On a port project in Ghana, incorrect cable selection caused three street poles to fail within three months. Or in Cambodia, rainwater entered an unsealed junction box and shorted the circuit. These real incidents remind us: installation accuracy is non-negotiable.
So let’s walk through the steps you’ll actually take—and the traps you’ll want to avoid.
⚙️ Design Overview & Key Parameters
| Parameter | Practical Guidance |
|---|---|
| Pole spacing | 25–35 m between 100–150 W fixtures; stagger layout on wide roads |
| Pole height | 6–8 m for streets; 9–12 m for highways or complexes |
| Cable gauge | 2.5 mm² for runs <20 m; 4 mm² if longer or on three-phase |
| Foundation depth | ≥1.2 m; or deeper in sandy soils |
| Pole finish | Hot-dip galvanized or powder-coated steel for corrosion resistance |
We suggest Fluke 117 multimeters (with capacitance test) for wiring checks, and Bosch or Makita drills for secure mountings.
Step 1: Pre-Check & Layout Planning
You might run into restricted permits or mismatched tap points—ask questions early. Always mark pole positions and walk along onsite at dusk with a bamboo stick to simulate light height shadows.
Quick Advice:
- Confirm utility permission for AC connection.
- Simulate fixture orientation manually before final digging.
- Ensure poles aren’t placed under tree foliage or too close to intersections.
Step 2: Installation Workflow (Real‑World Tips)
-
Foundation & Pole Mounting
- Drill base holes 1.2 m deep; don’t rush concrete curing. We've seen loosening bolt plates when rushed (<24 h).
-
Wiring Setup
- Feed wires through conduit, seal all joints inside junction box with waterproof gel and heat-shrink tubing.
- Always check continuity after sealing.
-
Control Setup
- Install photocell atop fixture or in box.
- If using smart control, connect only after all mechanical checks are passed.
-
Final Testing
- Measure voltage once at night—voltage dips under load are immediate red flags.
- If brightness seems low despite correct specs, you may have an earlier issue with wiring or load drop.
Step 3: What Trips Most Teams Up
- Cable under-sizing → overheating or premature driver failure.
- Missed grounding → flickering or risky leakage; test continuity.
- Improper sealing → corrosion or short circuits.
- Mixed-up wire labels → maintenance becomes hazardous.
In one camp in Lomé, quarterly visits after fixing wiring issues led to 60% fewer reported failures.
Step 4: Monthly Maintenance Is Smart, Not Optional
| Task | Result |
|---|---|
| Clean lenses | Keeps light output high as dust reduces lumen over time |
| Tighten bolts & check rust | Secures fixture stability |
| Open driver box, observe | Spot water, scorched parts before total failure |
| Recheck voltage and waveform | Voltage under-load gives early warning of issues |
Good maintenance turns 2.5‑year lifespan into 5‑year performance.
FAQs: From Real Field Conversations
Q: How soon does LED output fade?
A: Around 3‑4 years in humid zones unless you pre‑clean lenses and avoid overheating.
Q: Why does voltage drop after installation?
A: Often due to poor gauge choice or loose connections. Double-check cable size and torque before closing.
Q: What’s extra corrosion protection in humid climates?
A: Add epoxied bolts and silicone seals around base plates. Skip this and you’ll lose grip strength in under two seasons.
Final Word
You’ll meet delays. You may need extra parts. But the better your groundwork and discipline on wiring, sealing, and labeling, the more reliable your installation will be.
For contractors tackling AC lighting in developing regions, this is low-tech infrastructure with high impact—and low tolerance for mistakes.


