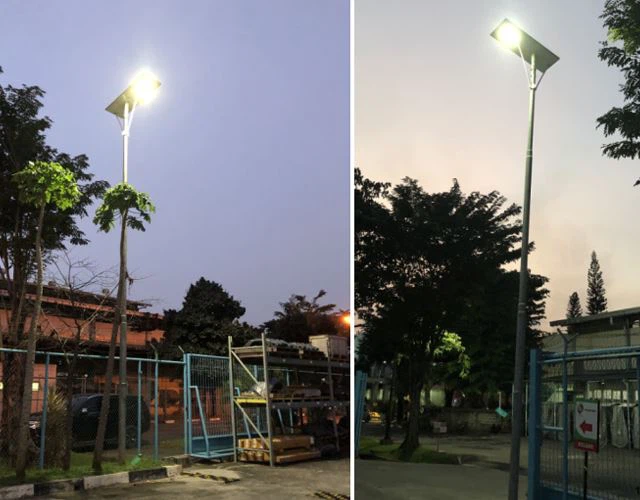
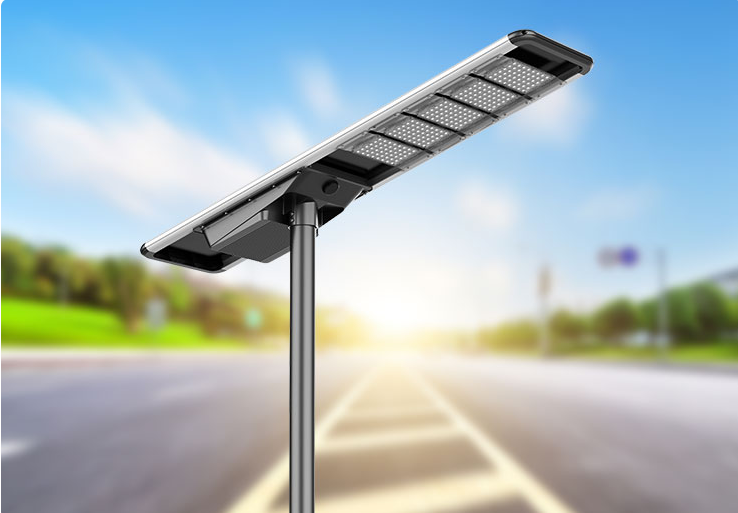
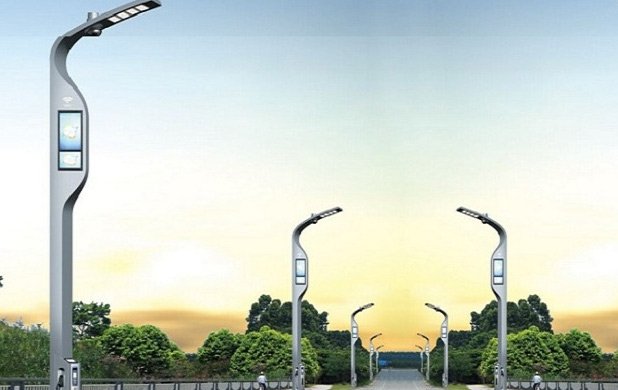
Over the past decade, I’ve helped plan and execute solar street lighting projects across both urban and rural areas. These systems improve public safety and reduce long-term energy costs—but only if the project is designed correctly from the beginning.
A successful solar street lighting project requires careful goal-setting, technical planning, quality component selection, and long-term maintenance strategy.
Let me walk you through the step-by-step planning process I use on every project—from concept to commissioning.
What Is a Solar Street Lighting Project?
Solar street lighting projects involve designing and deploying lighting systems powered entirely or partially by solar energy. They’re used for roads, parking areas, rural paths, and commercial sites.
Proper planning ensures that the lighting system meets safety standards, minimizes energy costs, and functions year-round in real-world conditions.
These projects support government infrastructure, reduce emissions, and offer independent energy solutions—especially in areas where grid access is limited or unreliable.
Step 1: Define the Goals of the Solar Street Lighting Project
Every project starts with a clear purpose. I work with clients to identify what they want to achieve:
- Light public roads, highways, or village paths.
- Improve night-time safety for drivers and pedestrians.
- Reduce electricity costs or diesel generator use.
- Meet environmental or green building goals.
The project goals influence every other decision—so we get them right from the start.
Step 2: Conduct a Detailed Site Assessment
This step is critical. Without an accurate assessment, the system may underperform or fail.
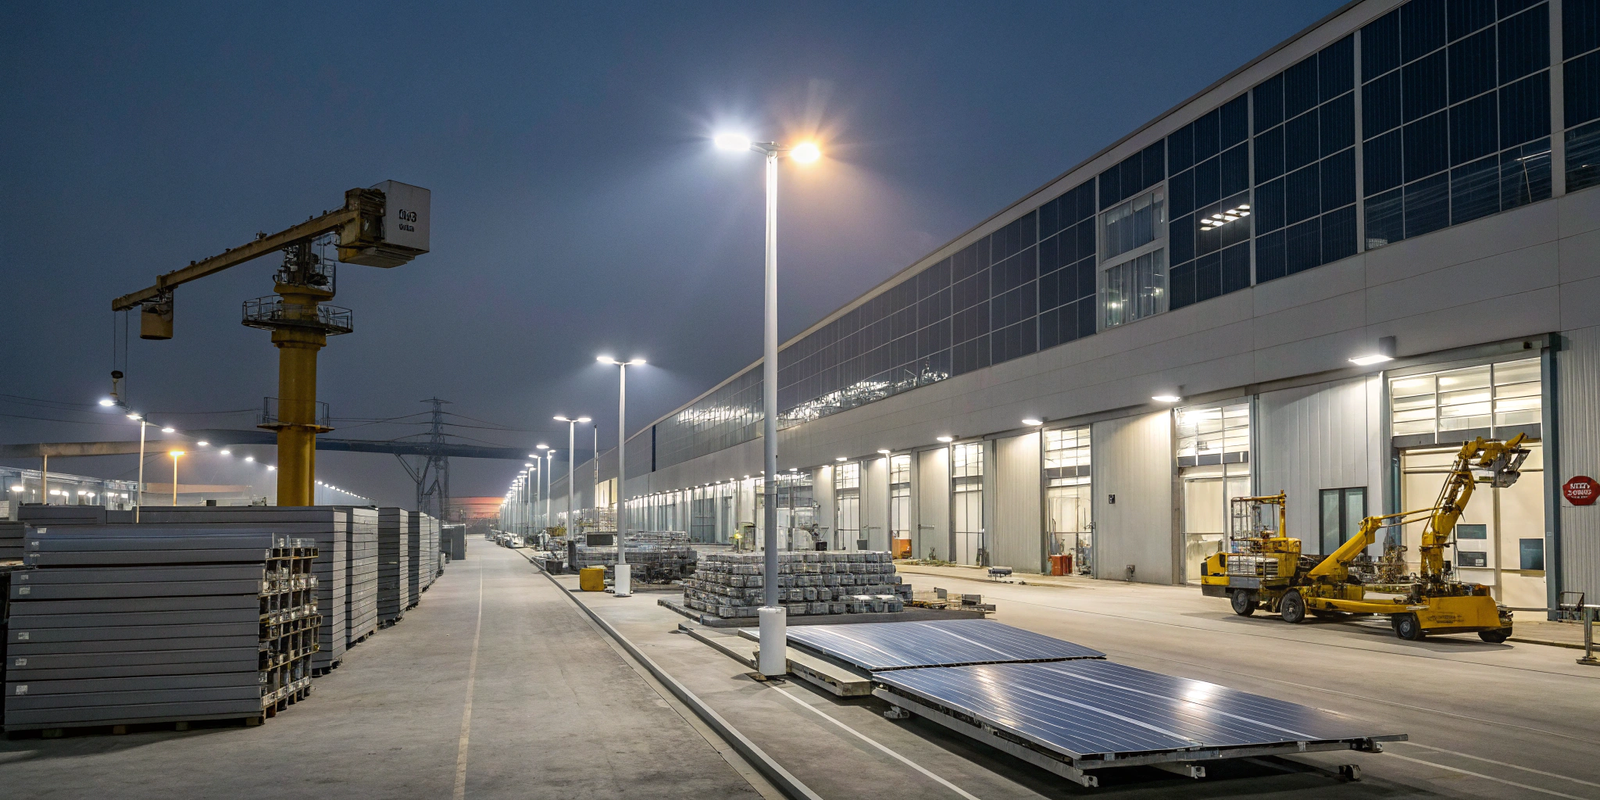
We evaluate:
- Sunlight exposure: Use solar maps, field measurements, or drone surveys to check seasonal sun availability.
- Shading and obstacles: Identify trees, buildings, or terrain features that block sun access.
- Road conditions: Surface width, slope, pole foundation requirements.
- Power conditions: Determine if a fully off-grid or hybrid system is needed.
A proper survey ensures the system has enough solar input to support reliable lighting throughout the year.
Step 3: Calculate Lighting and System Requirements
Once the site is mapped, we calculate what each pole needs to deliver.
We balance lighting levels, pole spacing, and energy storage to match the site’s needs and environment.
Key variables include:
- Lumen output per fixture: Based on road width and lighting class (e.g., local street vs highway).
- Pole height and spacing: Determines coverage and uniformity.
- Battery capacity: Should provide at least 2–3 nights of autonomy.
- Panel size: Based on average sun hours and daily consumption.
I often use software like Dialux or custom spreadsheets to model and simulate performance before finalizing the design.
Step 4: Select Quality Components for the Solar Street Lighting Project
Component quality directly affects performance and lifespan. Here's what I look for:
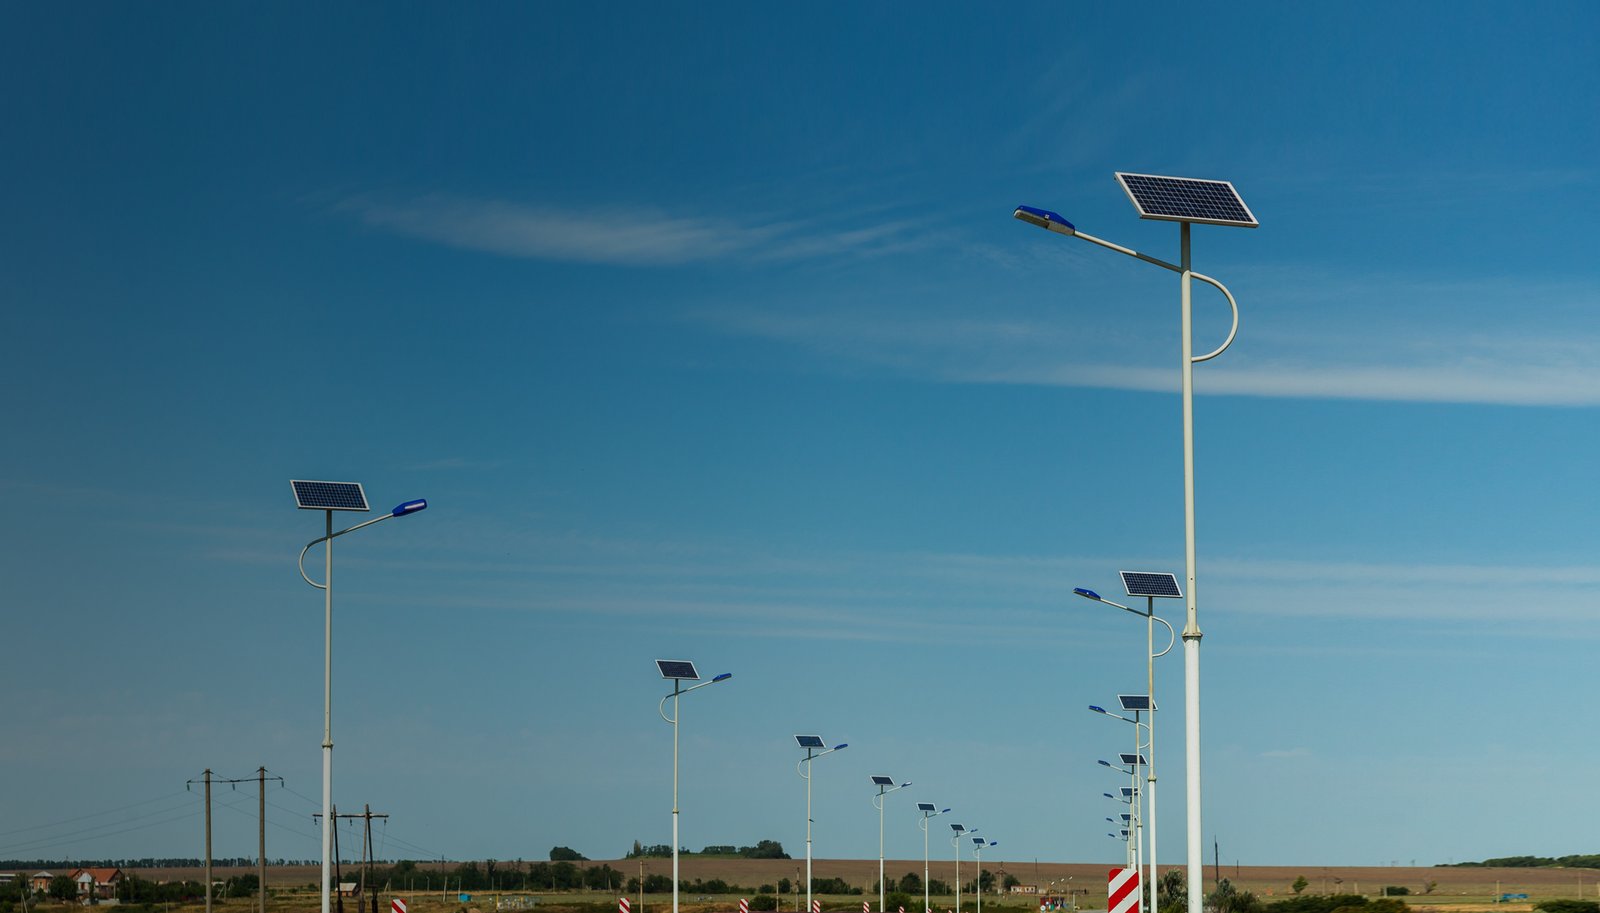
- LED fixtures: Energy-efficient, with optical lenses for road applications. Aim for 120–150 lm/W output.
- Solar panels: Mono-crystalline preferred for efficiency; framed in tempered glass with anti-corrosive backing.
- Batteries: LiFePO4 or lithium-ion; sealed, waterproof enclosures; smart BMS (Battery Management System).
- Controllers and sensors: Dimming, dusk-to-dawn control, and optional motion sensors.
All components must meet IP65+ waterproofing and be rated for at least 10 years of field exposure.
Step 5: Create a Project Budget and Procurement Plan
Planning a solar street lighting project includes financial clarity. I build budgets that account for:
- Equipment costs: Panels, batteries, fixtures, poles, controllers.
- Installation and transport: Crane, labor, logistics.
- Contingencies: 5–10% for unforeseen expenses.
- Ongoing maintenance: Spare parts, inspections, cleanings.
It’s important to pre-select reliable vendors and clarify timelines before issuing purchase orders.
Step 6: Develop the Implementation Timeline
A phased schedule keeps the project moving. I usually break it down as:
- Design and Engineering
- Regulatory Approvals and Permits
- Procurement and Delivery
- Installation and Wiring
- Testing and Commissioning
Set buffers for unexpected delays—especially during rainy seasons or long import lead times.
Step 7: Install and Commission the Solar Street Lighting System
The actual installation phase is where things come together. A typical installation includes:
- Pole foundation work and alignment
- Mounting solar panels and LED heads
- Battery and controller placement
- Final wiring and sealing of all joints
- On-site testing, calibration, and lighting trials
I supervise installation to ensure that design specs are met and all connections are waterproof and secured.
Step 8: Establish a Maintenance Plan for Long-Term Performance
Solar systems are low-maintenance—but not zero-maintenance. Every project should include a basic O&M schedule.
Maintenance keeps the system efficient, extends battery life, and prevents early failures.

Typical plan includes:
- Panel cleaning every 3–6 months.
- Battery voltage checks annually.
- Wiring and enclosure inspection after storms.
- Component replacement at 5–8 year intervals.
For larger systems, I recommend remote monitoring platforms to track performance and receive alerts.
Common Mistakes to Avoid in a Solar Street Lighting Project
After auditing several failed or underperforming projects, I’ve seen these common mistakes:
- Ignoring shading issues during site assessment.
- Using undersized panels or batteries to cut cost.
- Installing without waterproofing or proper orientation.
- Forgetting to budget for maintenance or spare parts.
Avoiding these pitfalls ensures performance and saves money long-term.
Conclusion: Ensure the Success of Your Solar Street Lighting Project
Planning a solar street lighting project requires a structured, technical approach. From goals and survey to installation and upkeep, every step builds toward a reliable system.
Start early, use accurate data, select quality components, and don’t forget maintenance. That’s how to make solar lighting projects succeed.
FAQs About Planning a Solar Street Lighting Project
How long does a solar street lighting project take?
From initial design to full installation, timelines range from 4 weeks to 3 months depending on scale and logistics.
What are typical costs per light or per kilometer?
Depending on brightness, battery size, and pole design, expect $300–800 per light; around $30,000–$70,000/km for full-road lighting.
Can solar lights be integrated with smart city systems?
Yes. Many controllers support wireless monitoring, dimming schedules, and integration with SCADA or smart city dashboards.


