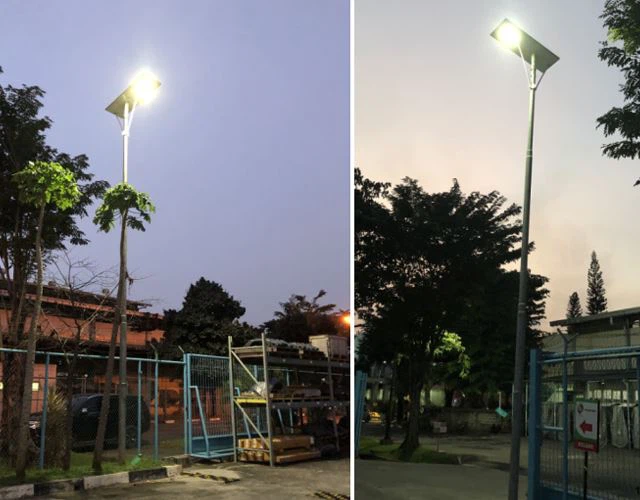
Installing the brightest streetlight won’t help if the poles are placed wrong.
Pole height and spacing directly affect how efficiently light spreads, influencing energy use, safety, and compliance.
Whether you're lighting roads, parking lots, or campuses—understanding pole geometry is essential to maximize performance.
Introduction: The Hidden Impact of Pole Design in Outdoor Lighting
Most lighting issues aren’t about the lights—they’re about the poles.
Pole height and spacing determine how far, how even, and how effectively light is delivered to the ground.
Outdoor lighting design is more than selecting luminaires. Engineers, architects, and facility managers must consider the physical layout—especially pole design—to optimize coverage and meet regulatory lighting targets.
Poor planning in this area leads to hotspots, dark zones, wasted energy, and poor visibility.
Understanding the Basics: What Is Light Distribution Efficiency?
Efficiency is more than lumens—it’s about how smartly light is used.
Light distribution efficiency measures how well a lighting system spreads light over the intended area, minimizing waste and maximizing performance.

It links directly to:
- Brightness: Measured as average illuminance (Em)
- Uniformity: Minimum/average ratios (Emin/Em, Uo)
- Glare: Excessive contrast or uncomfortable light (TI %)
- Energy Use: Lighting Power Density (LPD)
These are the key metrics:
| Metric | Description | Impacted By |
|---|---|---|
| Em | Average Illuminance (lux) | Pole height, fixture output |
| Emin | Minimum Illuminance | Pole spacing, uniformity |
| Uo | Uniformity Ratio (Emin/Em) | Spacing consistency |
| Ul | Uniformity of luminance (Umin/Umax) | Lens optics + distribution type |
| LPD | Lighting Power Density (W/m²) | System efficiency |
How Pole Height Affects Light Distribution
Not all “taller” is better—it depends on your design intent.
Pole height influences coverage width, glare potential, and overall maintenance strategy.
-
Wider Coverage Area with Higher Poles:
- As height increases, beam spread increases.
- Fewer poles needed for long roads.
- But: vertical illuminance (important for faces, signs) may drop.
-
Increased Risk of Glare with Poor Angle Control:
- Poor aiming causes light to hit drivers' eyes directly.
- High poles need proper optical control and vertical beam type matching.
-
Impact on Maintenance and Light Loss:
- Taller poles = harder to maintain = higher labor cost.
- Light depreciation (LLF) is more visible across longer throws.
| Pole Height | Coverage Diameter | Maintenance Ease | Glare Risk | Ideal Use |
|---|---|---|---|---|
| 6–7 m | Narrow | Easy | Low | Sidewalks, local streets |
| 8–10 m | Medium | Moderate | Medium | Urban roads, intersections |
| 11–14 m | Wide | Difficult | High | Highways, industrial zones |
How Pole Spacing Affects Lighting Performance
One meter too wide—and your uniformity collapses.

Pole spacing affects how beams overlap, impacting consistency, safety, and required wattage.
-
Uniformity and Overlapping Beams:
- Greater spacing = more gaps = poor Emin
- Closer spacing = better uniformity but more poles and higher cost
-
Pole Spacing-to-Mounting Height (S/MH) Ratio:
- Common design ratio for urban streets: 3:1 (spacing = 3× mounting height)
- S/MH below 2.5:1 = tight layout, good uniformity
- S/MH above 4:1 = efficient layout, but may sacrifice uniformity
| Road Type | Mounting Height | Typical S/MH Ratio | Notes |
|---|---|---|---|
| Local Street | 6–7 m | 2.5:1 | Balanced brightness and cost |
| Arterial Road | 8–10 m | 3:1 to 3.5:1 | Optimized for spacing and coverage |
| Highway | 12+ m | 4:1 or more | Long throw optics required |
Spacing without simulation often results in inefficient, non-compliant lighting.
The Role of Vertical and Lateral Light Distribution in Design
Matching your pole design with your optics is key.
Lateral and vertical light distribution types work together with pole spacing and height to create optimized lighting zones.
-
Lateral Types (Type I–V):
- Determine how wide the beam spreads across the ground.
- Must match road width and layout.
-
Vertical Types (Very Short to Very Long):
- Control how light travels downward and outward from the luminaire.
- Must match mounting height and spacing.
| Lateral Type | Best For | Typical S/MH Ratio |
|---|---|---|
| Type II | Narrow roads | 2.5:1 |
| Type III | Residential/urban | 3:1 |
| Type IV | Parking lots | 3–4:1 |
| Type V | Open zones | Variable |
| Vertical Type | Description | Mounting Height (m) | Notes |
|---|---|---|---|
| xS (Short) | Narrow throw | 4–6 m | Good for pedestrian zones |
| xM (Medium) | Balanced | 7–10 m | Most common in city roads |
| xL (Long) | Extended throw | 10–12 m | Used on wider roads |
| xVL (Very Long) | Max throw | 12+ m | High mast or large sites |
Real-Life Scenario: Simulation Comparisons
What works on paper might fail on pavement.
We ran simulations using pole heights of 6 m, 9 m, and 12 m to show how spacing, height, and distribution affect real metrics.

Scenario Setup
- Road Width: 10 meters
- Pole Spacing: 30 meters
- Luminaire: 80W LED, Type III-M optics
| Height (m) | Em (lux) | Uo (Uniformity) | Glare (TI %) |
|---|---|---|---|
| 6 m | 18.2 | 0.35 | 8% |
| 9 m | 20.4 | 0.41 | 11% |
| 12 m | 22.7 | 0.33 | 15% |
- Observation:
- Higher poles increase average brightness but worsen uniformity and glare.
- Best balance was 9 m poles with Type III-M and S/MH of ~3.3:1.
Best Practices for Selecting Pole Height and Spacing
Good lighting comes from thoughtful planning—not guesswork.
Always balance road geometry, traffic type, and optical lens when designing pole layouts.
- Use lighting simulation software like AGi32, Dialux, or Relux
- Choose S/MH ratio based on road classification
- Match vertical distribution to pole height
- Check ULOR/UGR for glare compliance
- Consider maintenance accessibility for high poles
| Design Factor | Recommendation |
|---|---|
| Road Width | Affects lateral type selection |
| Pole Height | Impacts throw distance and glare |
| S/MH Ratio | Guides uniformity and fixture count |
| Surrounding Structures | Avoid shadowing and light blocks |
Common Mistakes and How to Avoid Them
You can have great luminaires—and still fail.
Many projects underperform due to mismatched poles, optics, and layouts.
-
Using one pole height everywhere:
- Not every zone needs 10 m poles.
- Adapt pole height to area function (sidewalks vs. highways).
-
Ignoring vertical optics:
- Wrong beam angles result in poor vertical illumination and glare.
-
Overlapping too much or too little:
- Underlap causes dark spots.
- Overlap creates hotspots and higher energy use.
Avoid these by testing every layout in simulation software before construction.
Conclusion: Design Smarter, Not Harder
Lighting isn’t about more—it’s about better.

Proper pole height and spacing deliver better light, lower costs, and safer streets.
Use simulation tools, match distribution types, and treat lighting as a complete system—not just a list of parts. You’ll save time, money, and headaches down the line.
FAQs
What is the ideal pole height for 3-lane roads?
Typically 9–10 meters, combined with Type III or IV distribution and medium to long vertical spread.
Can I reuse existing poles with new LED fixtures?
Yes, but verify that the mounting height and spacing work with the new optics and application.
What’s the minimum spacing for parking lot lighting?
It depends on the lens, but for Type IV distributions, 3× mounting height (S/MH = 3:1) is a safe starting point.
How does mounting height affect uniformity?
Higher poles can spread light further but may reduce minimum illuminance unless paired with the right distribution type.