You’d never build a house without checking the ground first—so why do so many light pole projects skip over foundation design?
A proper foundation is what keeps your poles upright, your clients safe, and your project out of the headlines. It bears the wind, anchors the structure, and prevents long-term failure.
I’ve seen too many “beautiful” light pole installations topple within two years—not because of the pole or fixture, but because the foundation was an afterthought.
Why Light Pole Foundation Matters?
Here’s the thing: 90% of pole failures I’ve seen in the field begin below ground.
Wind, shifting soil, and corrosion don’t care how strong your pole is—they’ll exploit a weak foundation every time.
It’s About More Than Just Holding Weight
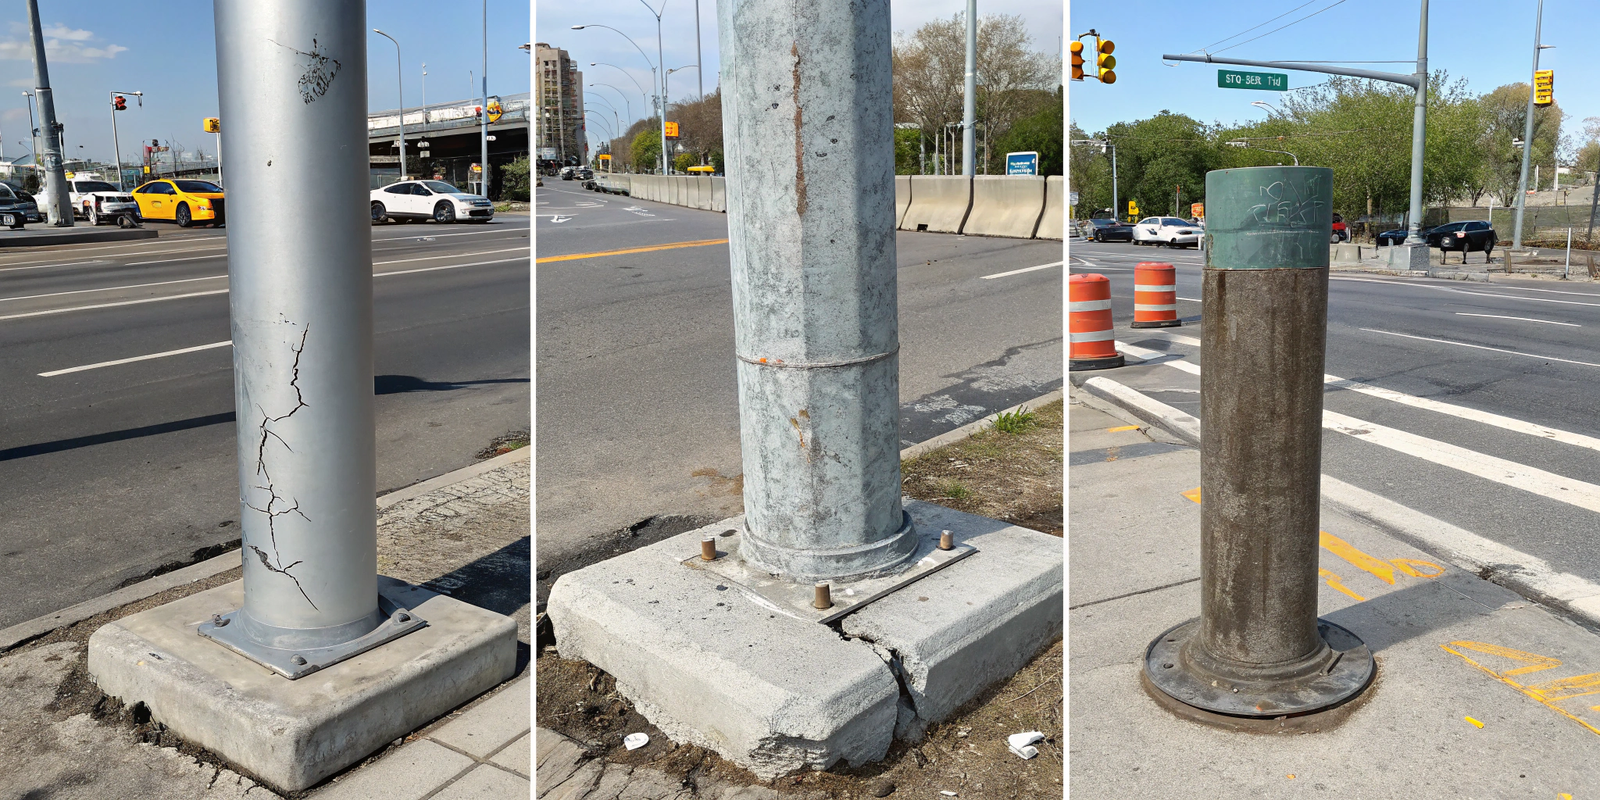
Light poles act like giant levers during high winds. A 9m pole with a 1.2m arm in a storm becomes a battering ram. If your base isn’t deep enough, or reinforced properly, that force will bend bolts, crack concrete, or worse—tilt the entire structure.
I remember a job site in central Uganda where the poles leaned just 3° off-center after a storm. By the time we checked, the base was cracked all the way through—no rebar cage, just bare concrete poured into clay soil.
Safety = Liability
A falling pole can do serious harm—people, property, or vehicles. If it happens on public ground, someone’s name ends up in court. Most municipalities in Ghana and Nigeria now require a signed engineer’s report on footing specs before installation begins.
It’s the Hidden Part That Carries the Risk
Foundations don’t get photographed or bragged about—but they’re the first thing blamed when something fails. And once it’s wrong, it’s hard (and expensive) to fix.
Most Common Street Light Pole Foundation Mistakes?
Let’s not sugarcoat it—here’s where most teams mess up.
These errors aren’t rare—they’re everywhere. I’ve seen them on government tenders, private malls, even school campuses.
-
Wrong Foundation Type for Pole Design
- I once saw a steel street pole installed with direct burial—no bolts, just packed dirt. Guess what? It sank in two years.
- Use anchor bolts for metal poles. Always.
-
Depth Guessing
- "We dug about a meter, it should be enough." That’s not design—it’s a gamble.
- Footing depth must match pole height, arm length, and local wind load. 10% of pole height is a minimum, not a guarantee.
-
Weak Concrete
- Low-grade mix or improper curing will crack under pressure.
- Use 3000–4000 psi with rebar cages. Let it set 7 days minimum. No shortcuts.
-
Bad Bolt Alignment
- You pour perfect concrete, but the anchor bolts are off by 10mm. Now what? The pole doesn’t fit. You’ll be drilling or replacing.
-
No Drainage
- A pole base sitting in standing water is an open invitation to corrosion.
- Use gravel beds and weep holes. It takes 15 minutes and can add 5 years to your base lifespan.
-
Ignoring Soil Reports
- Sandy? Clay? Wet? Each needs different design.
- Don’t assume your installer knows—verify with a test or documented soil study.
How to Properly Install a Light Pole Foundation?
Foundation work is quiet, dirty, and overlooked—but done right, it ensures the rest of the project doesn’t collapse.
Whether it’s a roadside pole or a solar setup in rural terrain, these methods ensure strength, safety, and code compliance.
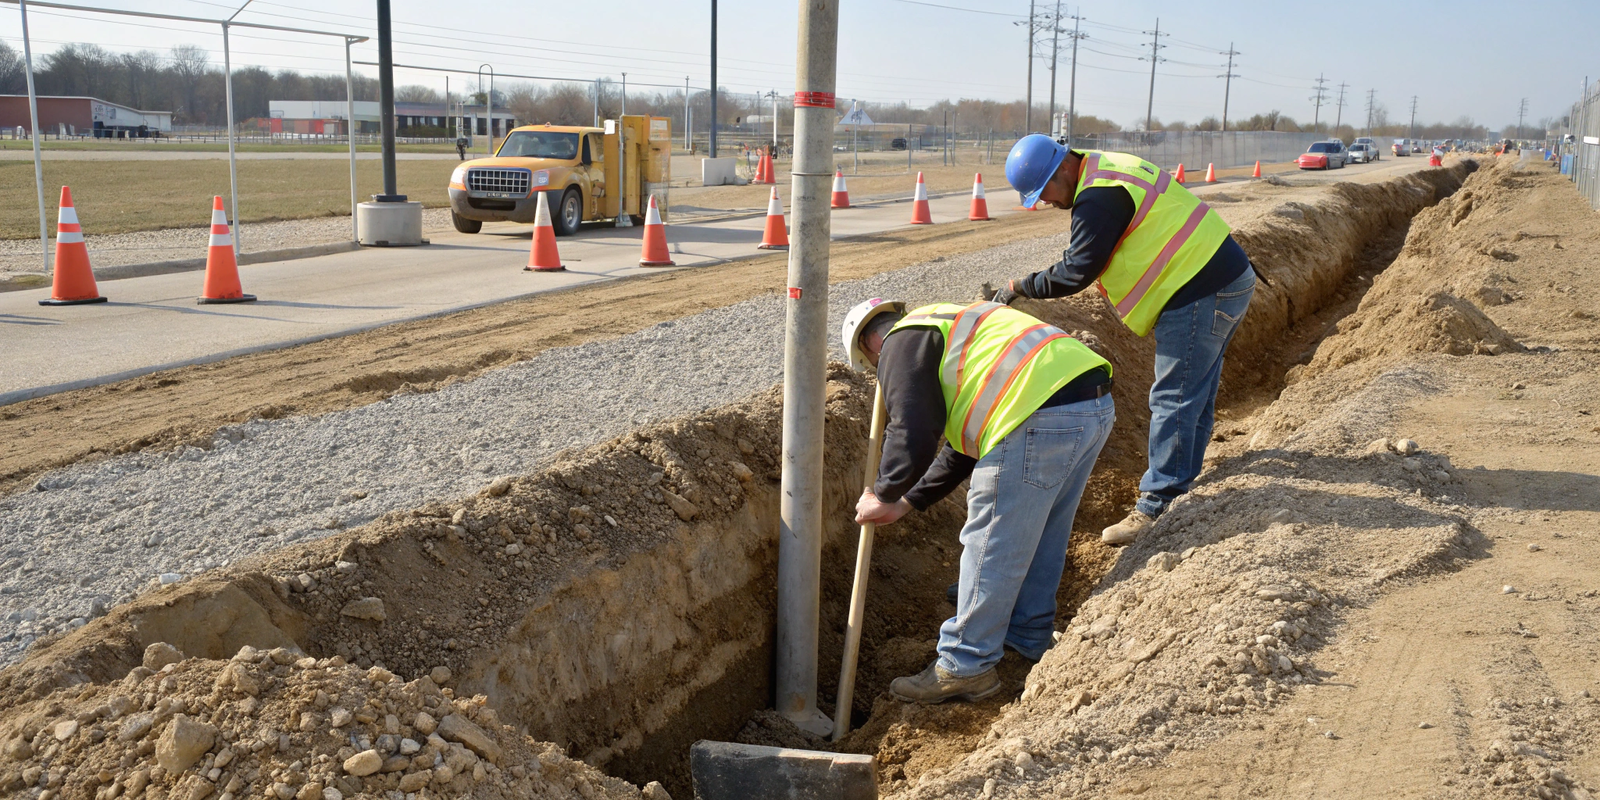
Direct Burial Method (for basic poles under 6m)
| Task | Notes |
|---|---|
| Excavation | 10–15% of pole height, minimum 600mm depth |
| Base Layer | Crushed stone/gravel, 100–150mm |
| Backfill | In layers, compacted every 20cm |
| Optional Concrete | Use in sandy or shifting soil environments |
Anchor Bolt Method (for steel, tall, or highway poles)
| Step | Field Tips |
|---|---|
| Rebar Cage | Use U-bends and vertical ties |
| Anchor Bolt Template | Steel template + double nuts = secure |
| Concrete Pour | Pour in stages; vibrate to remove air |
| Cure Period | Wait 5–7 days before mounting |
| Final Mounting | Check bolt torque per spec |
Footing Example Calculation
Let’s say you’re installing an 8m solar pole with a 1.2m dual arm in a 90 km/h wind zone:
| Factor | Spec |
|---|---|
| EPA (effective area) | ~0.3 m² |
| Required Depth | 1.1–1.3 m |
| Diameter | 450 mm |
| Concrete Volume | ~0.2–0.3 m³ |
We’ve used this spec in both Togo and Uganda with great results—even through two rainy seasons.
Factors That Influence Light Pole Foundation Design?
No two sites are the same. Design must reflect the real-world variables—not a one-size-fits-all blueprint.
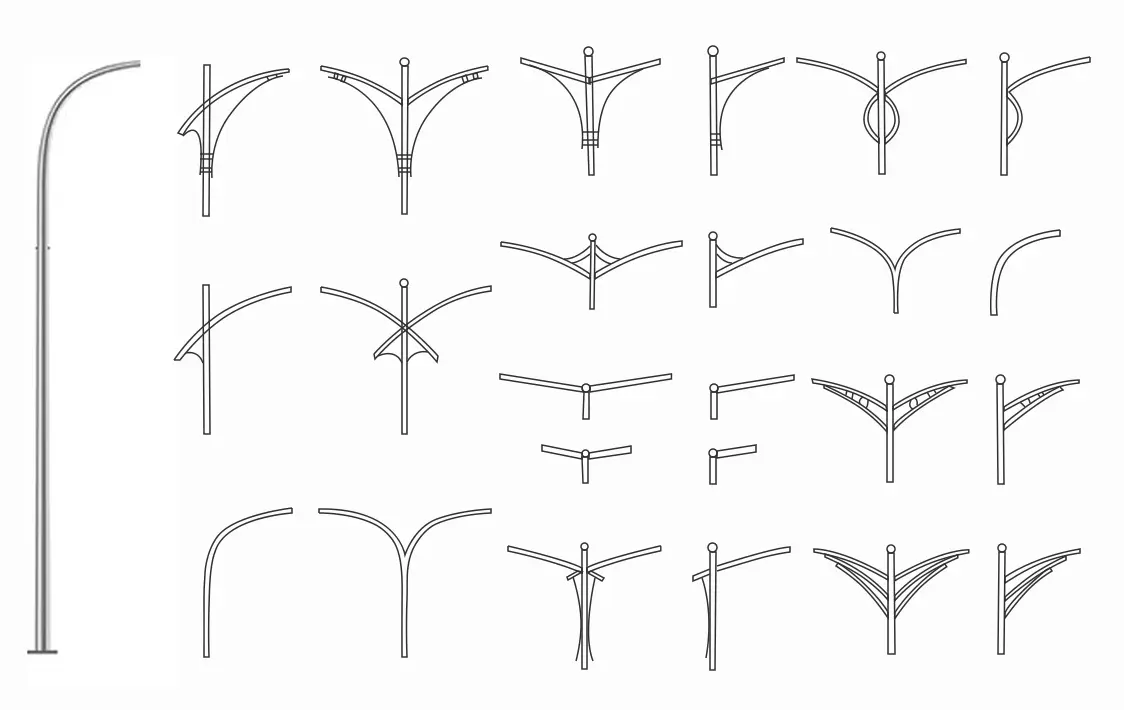
The key inputs: height, wind, soil, and fixture load. Mess one up, and the whole system is off balance.
-
Pole Height and Weight
- A taller pole increases leverage on the base.
- Add arms and fixtures, and the downward + lateral force multiplies.
-
Arm Length and Fixtures
- A 1.5m arm acts like a wrench. It pulls at the top and stresses the base more than you'd expect.
-
Wind Zone Exposure
- Highway installations need deeper, wider foundations.
- Inland zones can go lighter, but always refer to ASCE-7 or your country’s standard.
-
Soil Type and Stability
- Wet clay holds water—bad for long-term bolt life.
- Loose sand requires formwork and wider footings.
- We once had to shift a site 50 meters after finding buried trash in the soil.
| Variable | Adjustment Strategy |
|---|---|
| High Wind Area | Deeper footing + thicker rebar |
| Coastal Location | Anti-rust coating, higher concrete grade |
| Wet Ground | Better drainage + sealed foundation |
Pre-Installation Checklist for Light Pole Foundations?
This isn’t just a checklist—it’s a contract with yourself. Don’t skip it.
- ✅ Soil report or test confirmed
- ✅ Pole height and EPA calculated
- ✅ Wind load zone identified
- ✅ Foundation type approved (burial vs. bolt)
- ✅ Rebar cage fabricated per drawing
- ✅ Anchor bolt pattern measured and matched
- ✅ Concrete mix spec confirmed (3000–4000 psi)
- ✅ Cure time scheduled
- ✅ Drainage layer added or weep holes drilled
- ✅ Torque wrench calibrated
- ✅ Engineer or inspector notified (if required)
FAQs About Light Pole Foundations?
Q: How deep should a pole foundation go?
A: At least 10% of pole height, but adjust based on wind and soil. For 9m poles, start at 1.2m and consult your load chart.
Q: What if my concrete cracks during curing?
A: Stop. Don’t mount the pole. It needs to be broken and re-poured. Use slower-curing mixes in hot climates to avoid shrink cracking.
Q: Is direct burial okay for metal poles?
A: Only in very light-duty applications. Anchor bolts are safer, easier to inspect, and allow replacements down the road.
Q: What happens if the bolts don’t line up with the pole base?
A: You’ll need a base plate adapter—or worse, core drill new bolts. Avoid this by always using a steel template during the pour.
Conclusion
A light pole foundation may not be glamorous, but it decides whether your project succeeds—or fails—in silence.
Build it right the first time. Use soil data, proper depth, reinforced concrete, and anchored bolts. Your pole, your client, and your reputation will thank you.


