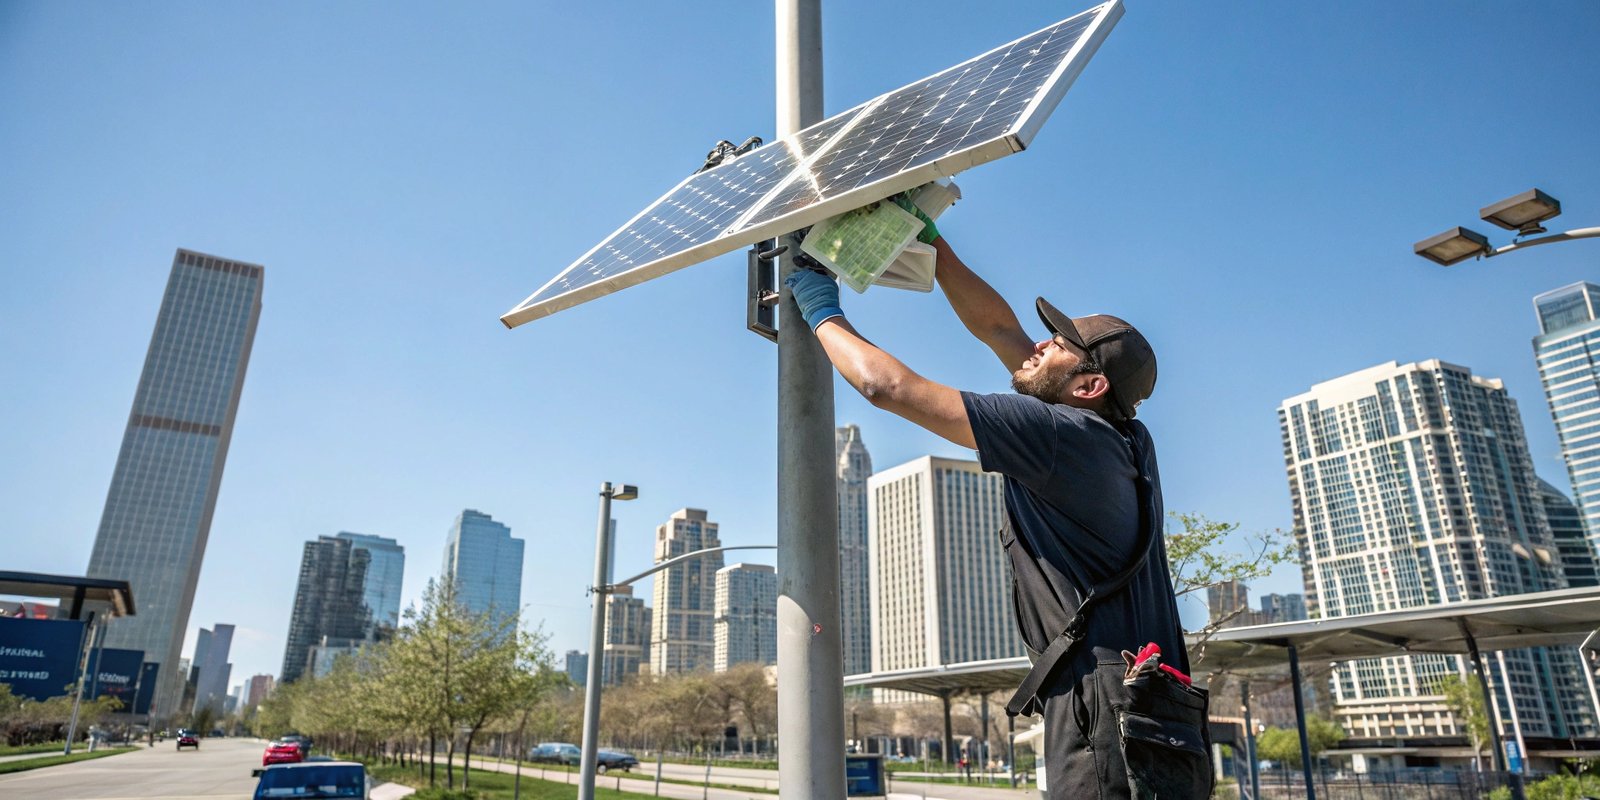
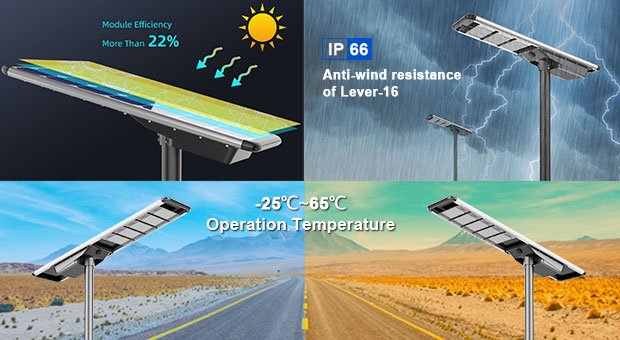
Solar street lights provide energy-efficient and sustainable illumination, but like any system, they require troubleshooting and maintenance to function properly.
Common issues such as charging failures, dim lighting, and sensor malfunctions can often be resolved through systematic diagnostics and repair.
This guide outlines step-by-step troubleshooting methods to ensure your solar street lighting system remains reliable and efficient.
Understanding the Components of a Solar Street Light System
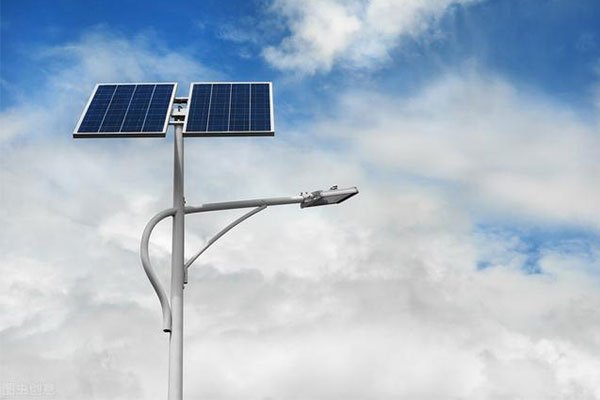
To effectively diagnose problems, it's essential to understand the main components of a solar street light system:
| Component | Function | Potential Issues |
|---|---|---|
| Solar Panel | Captures sunlight and converts it into electricity. | Dirt accumulation, shading, damage. |
| Battery | Stores energy for nighttime use. | Aging, improper charging, loose connections. |
| LED Lamp | Provides illumination. | Faulty wiring, damaged LEDs, dim lighting. |
| Controller | Manages power distribution and controls on/off functions. | Sensor failure, firmware issues, incorrect settings. |
| Pole & Mounting Hardware | Ensures structural stability. | Physical damage, loose connections. |
By understanding these components, troubleshooting becomes more systematic and efficient.
Common Solar Street Light Issues and How to Fix Them

1. Solar Panel Not Charging
Possible Causes:
- Dirt and dust buildup reducing sunlight absorption.
- Shading from nearby trees or buildings.
- Physical damage or loose wiring.
Troubleshooting Steps:
✅ Clean the solar panels with a soft cloth and mild detergent.
✅ Ensure the panel location receives full sunlight and is free from obstructions.
✅ Use a multimeter to check voltage output and inspect for damaged wiring.
✅ Replace faulty solar panels if they show visible cracks or damage.
2. Battery Not Holding Charge
Possible Causes:
- Aging or failing battery.
- Loose or corroded connections.
- Improper charging cycles leading to battery degradation.
Troubleshooting Steps:
✅ Test battery voltage with a multimeter to assess charge capacity.
✅ Inspect connections for corrosion and tighten loose terminals.
✅ Ensure the battery is properly matched with the charge controller.
✅ Replace batteries that no longer hold a charge.
3. LED Light Not Turning On
Possible Causes:
- Faulty electrical connections.
- Defective LED module or driver.
- Controller malfunction.
Troubleshooting Steps:
✅ Check all electrical connections for looseness or corrosion.
✅ Test the LED module using an external power source.
✅ Reset the controller and ensure proper voltage output.
✅ Replace the LED unit if it fails to light up.
4. Flickering or Dim Light
Possible Causes:
- Weak or failing battery.
- Loose wiring or poor connections.
- Controller issues affecting power regulation.
Troubleshooting Steps:
✅ Check battery charge levels and replace if needed.
✅ Inspect all wiring and tighten any loose connections.
✅ Reset or update the controller firmware to improve power management.
5. System Turning On/Off at Incorrect Times
Possible Causes:
- Faulty light sensor misreading ambient light levels.
- Incorrect controller settings.
- Firmware issues affecting automation.
Troubleshooting Steps:
✅ Clean and realign the light sensor for accurate detection.
✅ Adjust the controller settings based on environmental lighting conditions.
✅ Update firmware to ensure correct operational timings.
Step-by-Step Troubleshooting Guide

1. Diagnosing Solar Panel Issues
- Clean the panels to remove dust, debris, or bird droppings.
- Check for physical damage like cracks or discoloration.
- Use a multimeter to measure voltage output under direct sunlight.
- Ensure correct panel placement to maximize sun exposure.
2. Checking Battery and Electrical Components
- Test battery charge levels with a voltage meter.
- Inspect wiring for corrosion or loose connections.
- Confirm that the battery and charge controller are compatible.
3. Addressing LED and Controller Malfunctions
- Test the LED with an external power source to confirm functionality.
- Inspect wiring connections for breaks or shorts.
- Reset the controller and check for firmware updates.
4. Resolving General Electrical Issues
- Look for exposed wires or damaged insulation.
- Check for water intrusion in electrical enclosures.
- Ensure proper grounding to prevent electrical faults.
Preventative Maintenance Tips for Solar Street Lights
Regular maintenance helps reduce failures and extend the lifespan of the system.
✅ Routine Cleaning
- Wipe down solar panels every 2-3 months to remove dirt buildup.
- Inspect and clean light fixtures and lenses for maximum brightness.
✅ Battery Maintenance
- Test battery charge levels quarterly to ensure proper storage capacity.
- Replace aging batteries before they fail completely.
✅ Electrical Inspections
- Check all connections for tightness and corrosion.
- Inspect wiring for wear and tear every six months.
✅ Firmware & Controller Updates
- Update firmware to optimize power efficiency.
- Reset controllers periodically to ensure proper operation.
When to Call a Professional
Some solar lighting issues require expert technical support.

💡 Call a professional if:
- Electrical faults persist despite troubleshooting.
- Firmware issues require specialized reconfiguration.
- Large-scale installations need professional maintenance.
- Compliance with safety regulations is required for commercial or municipal applications.
Ensuring Long-Term Efficiency of Solar Street Light Systems
Solar street lights are a cost-effective, sustainable lighting solution, but their performance depends on proper maintenance and timely troubleshooting.
By performing regular inspections, addressing minor issues early, and seeking professional support when necessary, users can maximize system efficiency and longevity.
A structured troubleshooting and maintenance plan ensures that solar street lights continue to provide consistent, reliable illumination for years to come.


