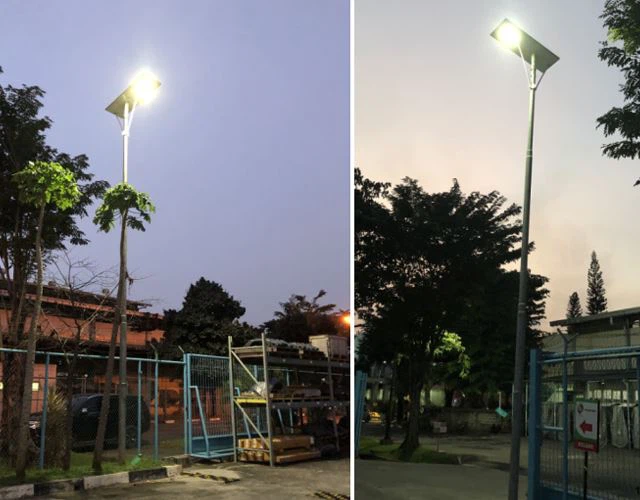
Installing a solar street light is more than just mounting a light—it’s about optimizing performance, safety, and durability.
From foundation prep to pole alignment, small mistakes can lead to big failures.
After working on dozens of municipal and community-level solar lighting projects, I’ve seen firsthand that installation quality determines system lifespan. Here’s how I approach it.
Why Proper Installation Matters?
The pole isn’t just a support—it affects the light’s orientation, solar charging, and structural stability.
Improper installation leads to misaligned lighting, weak charging, and even pole collapse under stress.
Let’s break down what can go wrong:
- Misalignment of the LED head reduces coverage
- Wrong solar panel angle reduces charging hours
- Poor foundation leads to tilting or vibration
- Bad orientation drains battery faster due to poor sunlight exposure
In my experience, 80% of solar lighting failures trace back to pole issues, not electronic faults.
Pre-Installation Checklist?
Preparation is half the job. Before going to site, I always confirm these points.
A structured checklist prevents common errors that are expensive to fix later.
| Item | Recommendation |
|---|---|
| Foundation Depth | Minimum 1.2 meters or 1/10th of pole height |
| Anchor Bolt Kit | M16 or M20, galvanized, with leveling template |
| Pole Specification | Hot-dip galvanized steel, 5–9 meters |
| Panel Orientation | Face equator: south-facing in north hemisphere |
| Tools Required | Level, torque wrench, compass, PPE |
🛠 Let concrete cure at least 72 hours before mounting the pole. Rushing this causes long-term instability.
Step-by-Step Installation Process?
I follow this 3-stage method on every project. It’s consistent and scalable.
From digging to final tightening, every step affects system longevity.
✅ Step 1: Foundation and Bolt Cage
- Dig hole 1.2 to 2 meters deep based on wind zone
- Insert anchor bolts using steel template plate
- Ensure bolts are level and upright with a spirit level
- Fill with concrete, compact evenly, let cure 3–7 days
✅ Step 2: Assemble Light Components
- Attach LED head and solar panel to bracket
- Check all electrical connections (MPPT controller, battery plug)
- Use spring washers to prevent loosening under vibration
- Confirm panel angle—usually 10–15° tilt is ideal
✅ Step 3: Raise Pole and Align
- Lift pole using team or lifting device
- Rotate to ensure panel faces true equator (compass check)
- Align bolts and secure with torque wrench
- Recheck level using two-angle spirit tools
🎯 The pole must be vertical and stable before final tightening. Even a 5° tilt can reduce performance by 20%.
Common Mistakes to Avoid?
These issues appear in both urban and rural installs, especially where contractors rush or skip checks.
Avoiding them upfront saves time and costly callbacks.
| Mistake | Effect | Fix |
|---|---|---|
| Uneven concrete base | Light tilts, water accumulates on panel | Level foundation before bolt setting |
| Loose or missing bolts | Causes movement and early failure | Use spring nuts, retighten next day |
| Panel faces wrong direction | Charging drops, light dies before dawn | Use compass app to verify orientation |
| Wrong pole height | Inadequate lighting coverage | Use correct pole for road width |
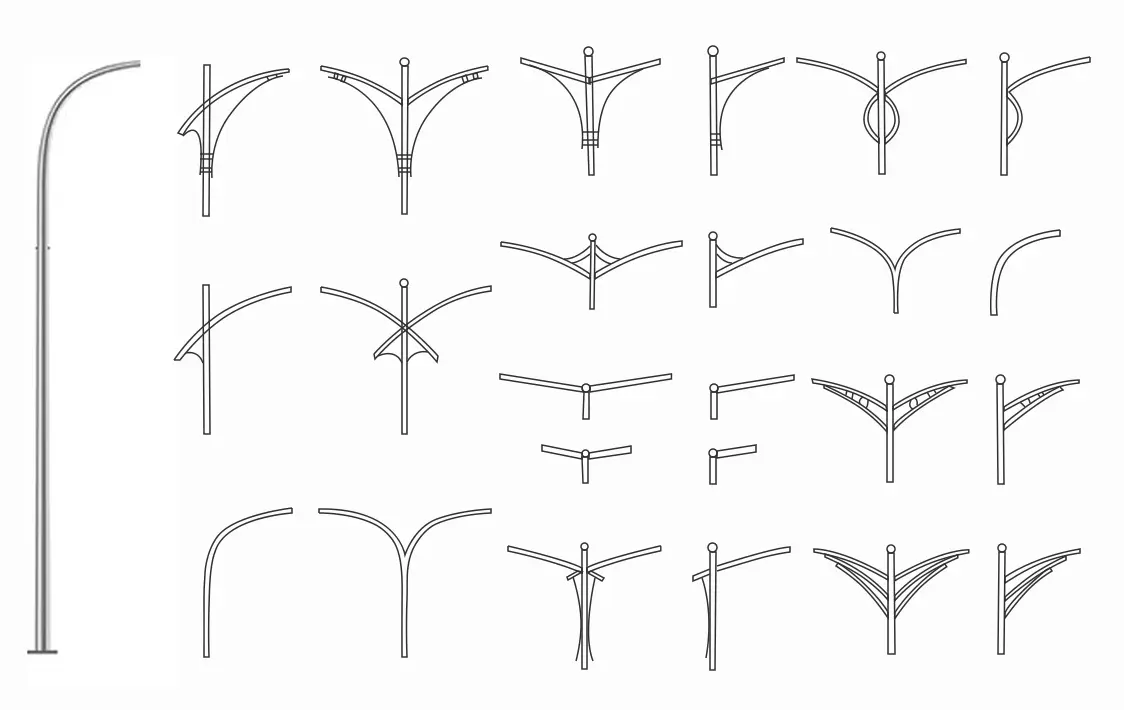
Installation Tips by Pole Type?
Each pole type has different advantages. Choose based on site conditions and logistics.
Not all poles are suitable for solar street lighting—especially when factoring in wind loads and maintenance needs.
Octagonal Steel Poles
- Best for highways and urban roads
- Strong wind resistance (120–140km/h)
- Suitable for lights from 60W to 150W
Conical Poles with Arm Brackets
- Common in town roads and village projects
- Lighter, easier to install manually
- Match arm length to light beam width
Foldable Base Poles
- Ideal for high-maintenance zones (e.g., near airports, schools)
- Can be lowered with a winch—no crane required
- Watch for rust in the base hinge—use stainless fittings
FAQs?
These questions usually come up during contractor training or project handovers.
Clear answers here will help avoid confusion on-site.

Q1: Can I reuse an existing concrete base?
A: Only if the anchor bolts match the pole flange and foundation is level. Always check bolt spacing.
Q2: What’s the best pole height for 60W and 100W lights?
A: For 60W, use 5–6 meters; for 100W, use 7–9 meters depending on spacing.
Q3: Is grounding required?
A: Yes. Use a copper grounding rod (min. 1.5m deep) to protect against lightning and surge damage.
Q4: Can I install without professional equipment?
A: Yes, if the pole is below 6m and team has basic tools. For anything larger, use lifting gear.
Conclusion
A successful solar street light system starts with a strong pole and proper installation.
By following best practices for foundation, orientation, and mounting, you ensure brighter nights and longer system life—with fewer maintenance calls.